FREE STANDARD SHIPPING ON ALL ORDERS ABOVE $100
Curl Your Hair With Flat Iron

How to Curl Your Hair with a Flat Iron and Make it Last!

If you’ve ever envied those gorgeous, bouncy curls that seem to effortlessly cascade down from the heads of celebrities and fashionistas, you’re in for a treat! While curling wands and traditional curling irons are popular choices, achieving stunning curls with a flat iron is a game-changer. Not only does it save time, but it also adds versatility to your styling routine. In this guide, we’ll take you through the steps on how to curl your hair with a flat iron and ensure those curls last all day.

Curl Your Hair with a Flat Iron

Materials Needed:

  • Flat iron: Choose a high-quality flat iron with adjustable heat settings. We have best flat irons. Grab them now!!
  • Heat protectant spray: Shield your hair from heat damage by applying a heat protectant before styling. Buy our most wanted Heat protectant spray.
  • Sectioning clips: Divide your hair into manageable sections for a more precise curling process. Check our Sectioning Clips.
  • Hairspray: Lock in your curls with a flexible-hold hairspray.

Step-by-Step Guide:
  • Start with clean, dry hair:
Begin by washing and thoroughly drying your hair. The absence of excess moisture ensures a smoother curling process.


  • Apply heat protectant:
Spritz a heat protectant spray evenly through your hair, focusing on the mid-lengths and ends. This helps guard your strands against the potential damage caused by heat styling.


  • Section your hair:
Divide your hair into sections using sectioning clips. This makes it easier to work through your hair systematically.


  • Adjust the flat iron temperature:
Set your flat iron to a temperature suitable for your hair type. Lower temperatures work well for fine hair, while thicker hair may require higher heat settings. It’s crucial not to exceed the optimal temperature to prevent unnecessary damage.


  • Take small sections:
Grab a small section of hair, about 1-2 inches wide, depending on the thickness of your hair. Smaller sections result in tighter curls, while larger sections produce looser waves.


  • Twist and glide:
Hold the flat iron horizontally and clamp it near the roots of the section. Twist the flat iron away from your face while gliding down the length of the hair. The slower you move, the tighter the curl.


  • Alternate directions:
For a more natural look, alternate the direction in which you twist the flat iron for each section. This prevents the curls from clumping together and adds dimension to your hairstyle.


  • Repeat the process:
Continue curling small sections until you’ve worked through all layers of your hair. Remember to be patient and maintain a consistent technique for uniform curls.


  • Let the curls cool:
Allow the curls to cool completely before touching or styling further. This helps the curls set, ensuring a longer-lasting hold.


  • Finish with hairspray:
To seal the deal, lightly mist your curls with a flexible-hold hairspray. This provides a touchable finish while keeping your curls intact throughout the day.


Doing Curl Your Hair with a Flat Iron Conclusion:
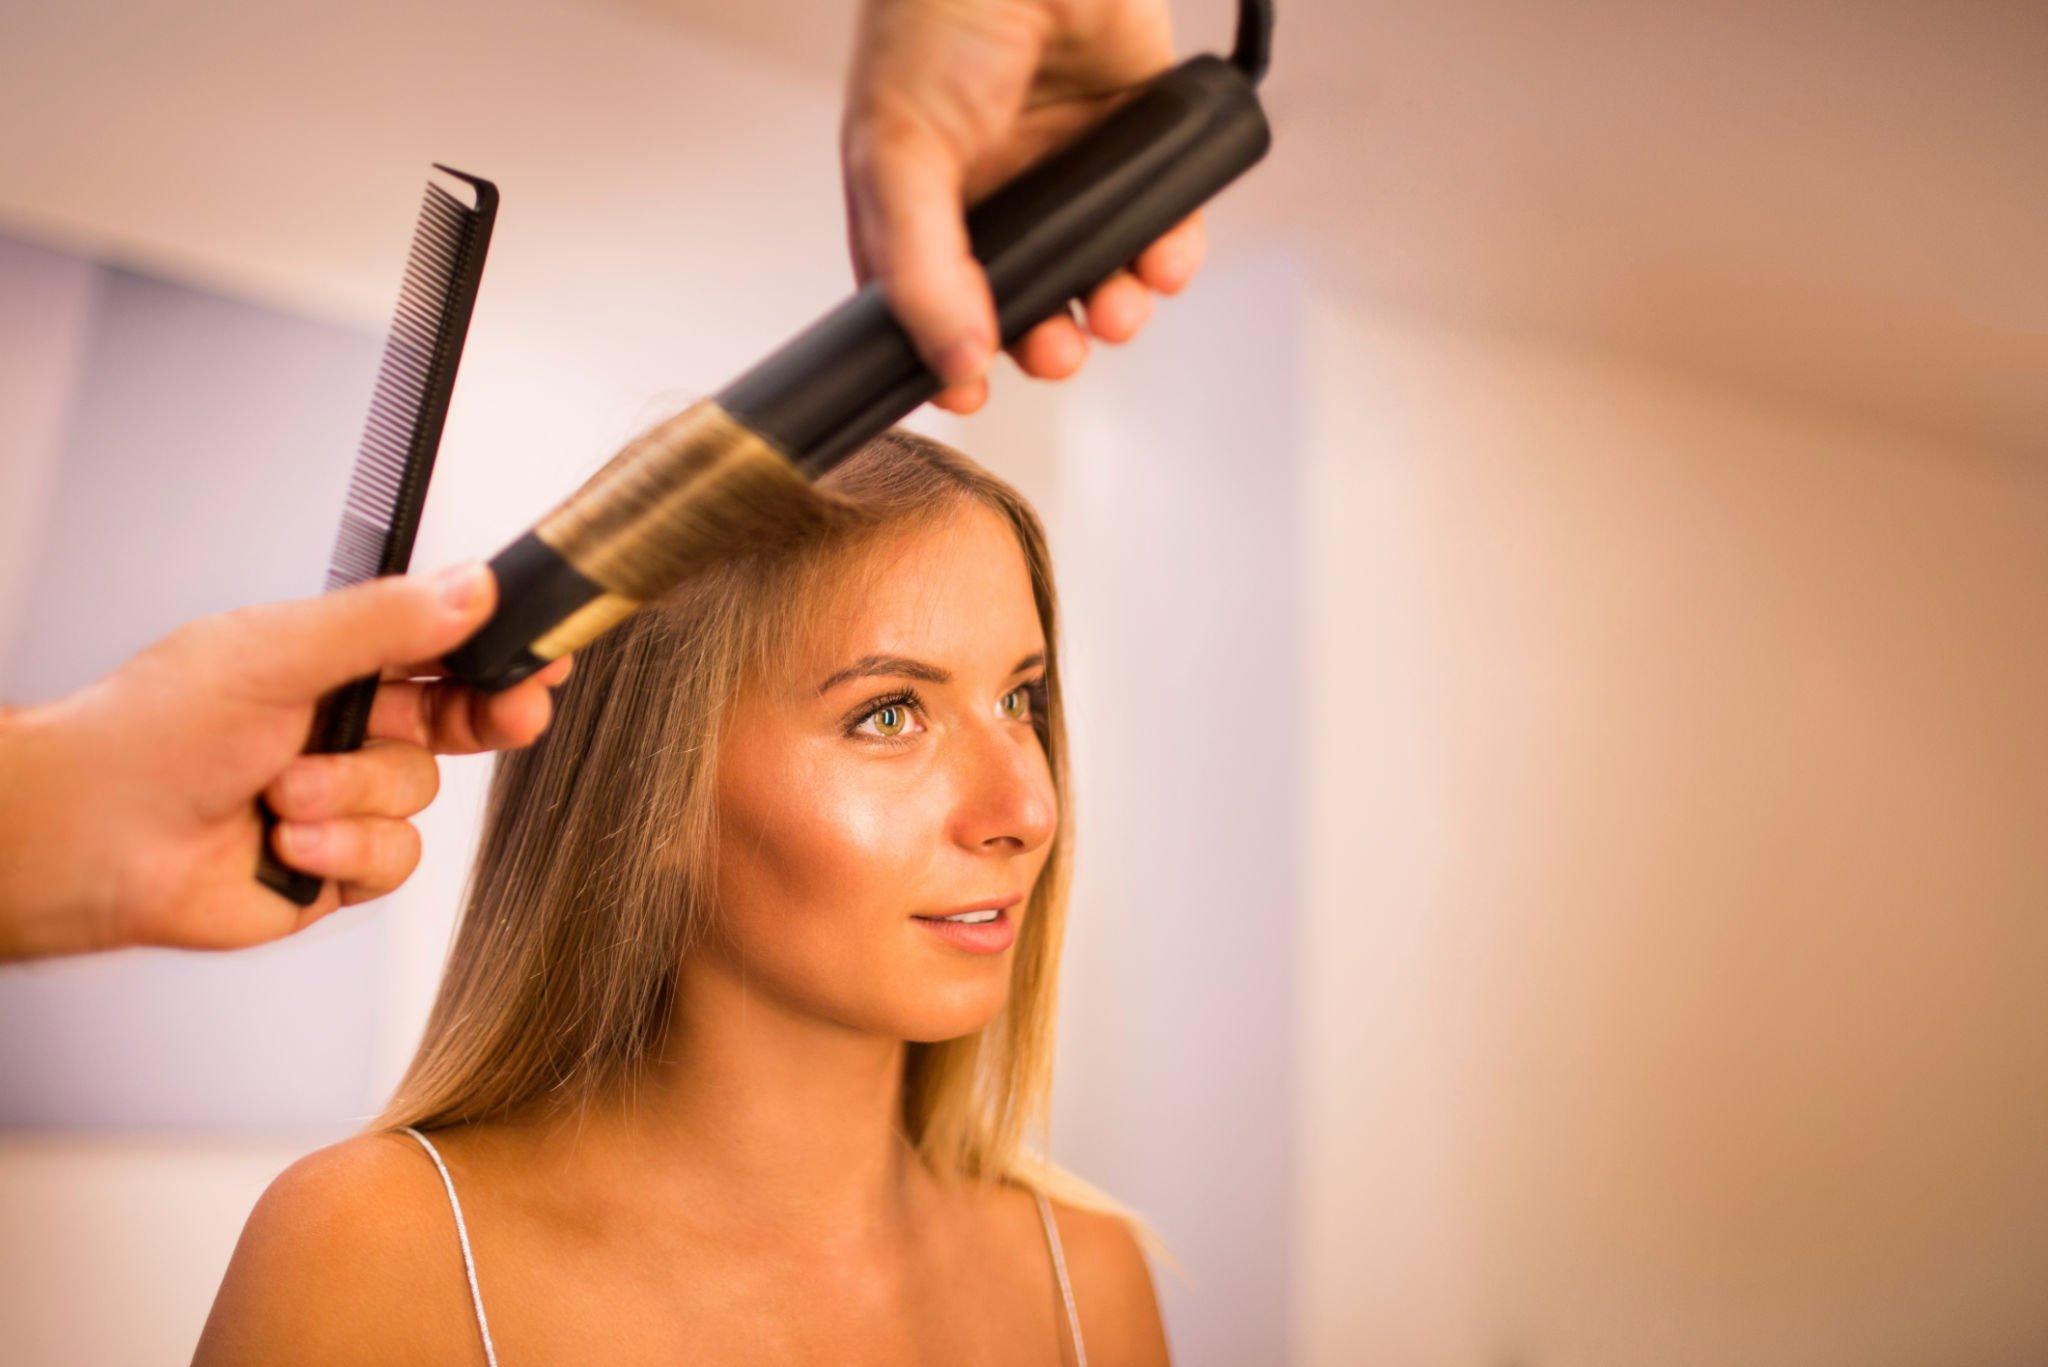
Doing Curl Your Hair with a Flat Iron is a versatile and efficient way to achieve stunning, long-lasting curls. By following these steps and incorporating the right products, you’ll be able to rock those bouncy waves with confidence. Experiment with different section sizes and styling techniques to discover the perfect curls for your unique look. With a bit of practice, you’ll master the art of curling with a flat iron and enjoy a fabulous hairstyle that lasts!

Leave a Reply

Your email address will not be published. Required fields are marked *

Close
Cart (0)

Cart is empty No products in the cart.


Currency


Close
0